Shading with Blender
This tutorial shows how we can create stunning shaded relief images using the Blender ray tracer to solve the hard job of computing illumination with realist shadows of a DEM surface. The tutorial linked below takes some time to follow and the time needed to compute the raytraced image is on the order of minutes. However, as the author says at the end, once we have it set for one case it is easy and fast to adapt it to other cases. In a posterior improvement of this tutorial we will show how to modify needed parameters of the .blend file that is run by Blender to create the raytraced image.
using GMT
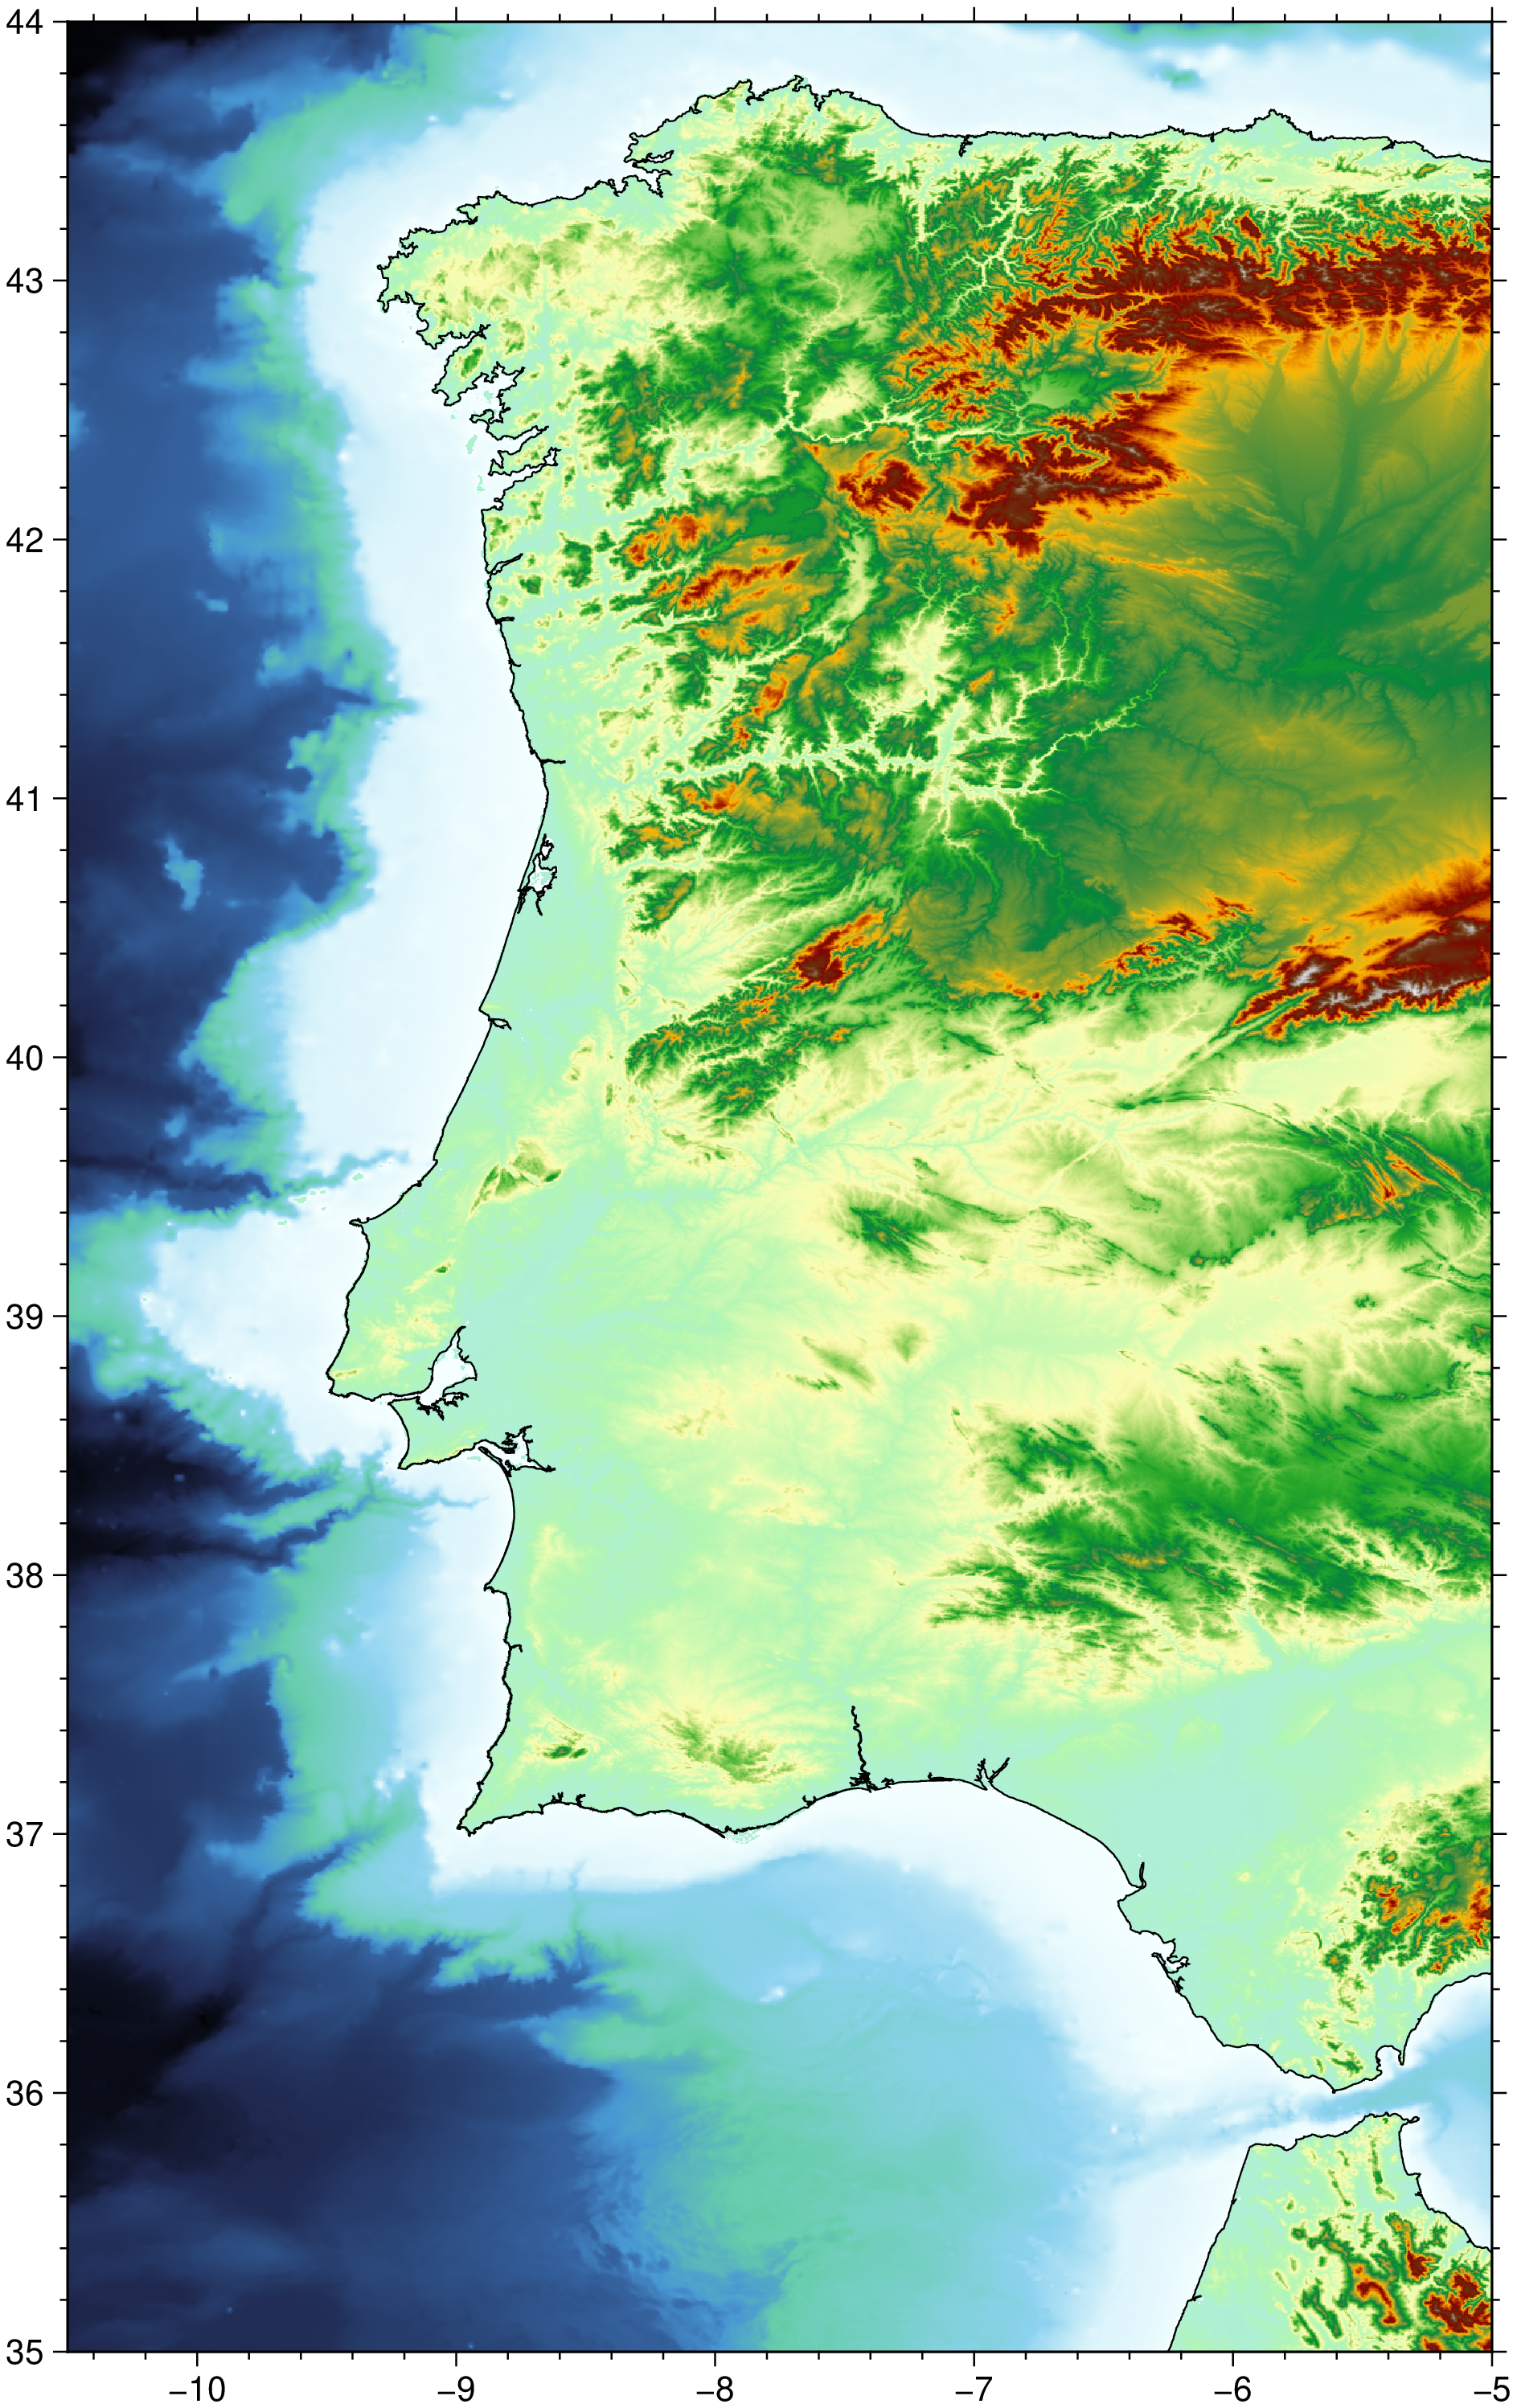
# Extract a region of West Ibaria from the 15 arc sec grids stored in the GMT server
Gwib = grdcut("@earth_relief_15s", region=(-10.5, -5, 35, 44));
# Create a tint image from the Gwib grid
I = grdimage(Gwib, C=:earth, img_out=true);
viz(I, coast=true)
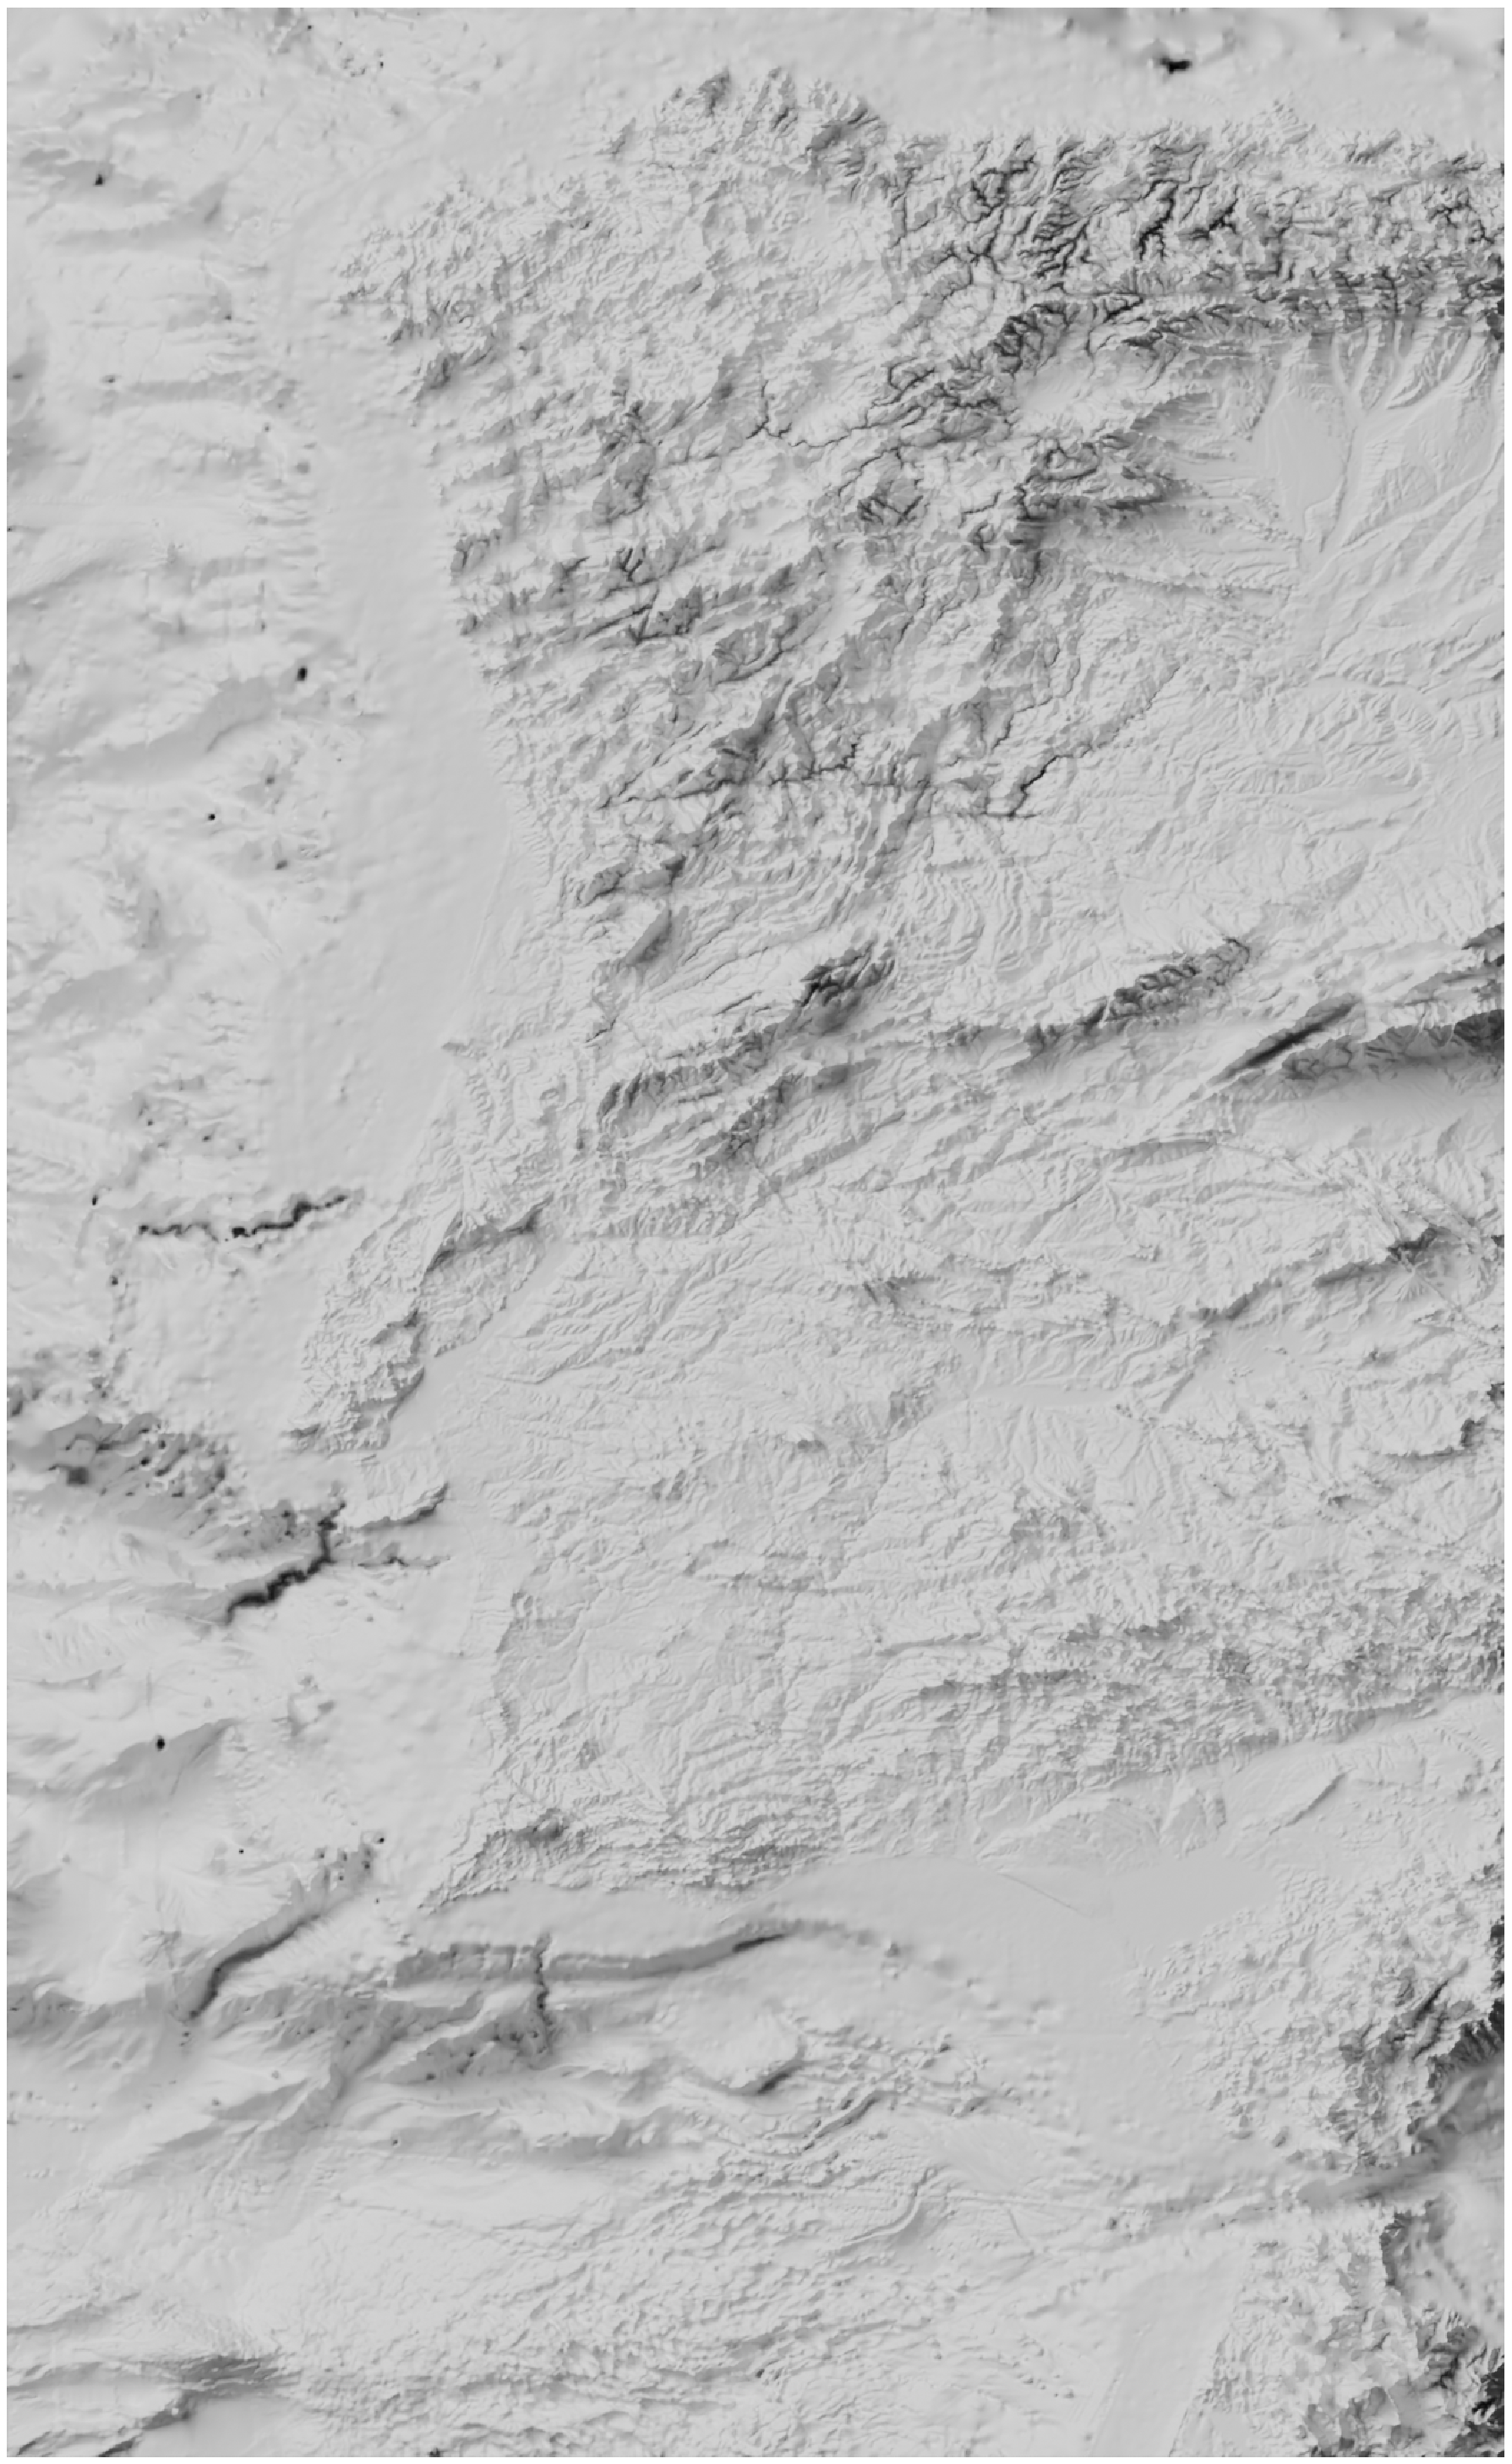
Load the previously created raytrace image computed with Blender following the tutorial Creating Shaded Relief in Blender But note that the first part of that tutorial where it explains how to create the UInt16 heightmap can be replaced by this simple command:
gdalwrite("Gwib.tiff", rescale(Gwib, type=UInt16))Load the gray scale image and show it:
using GMT

Iblend = gmtread("https://oceania.generic-mapping-tools.org/cache/wiberia_shade_blender.png");
viz(Iblend)
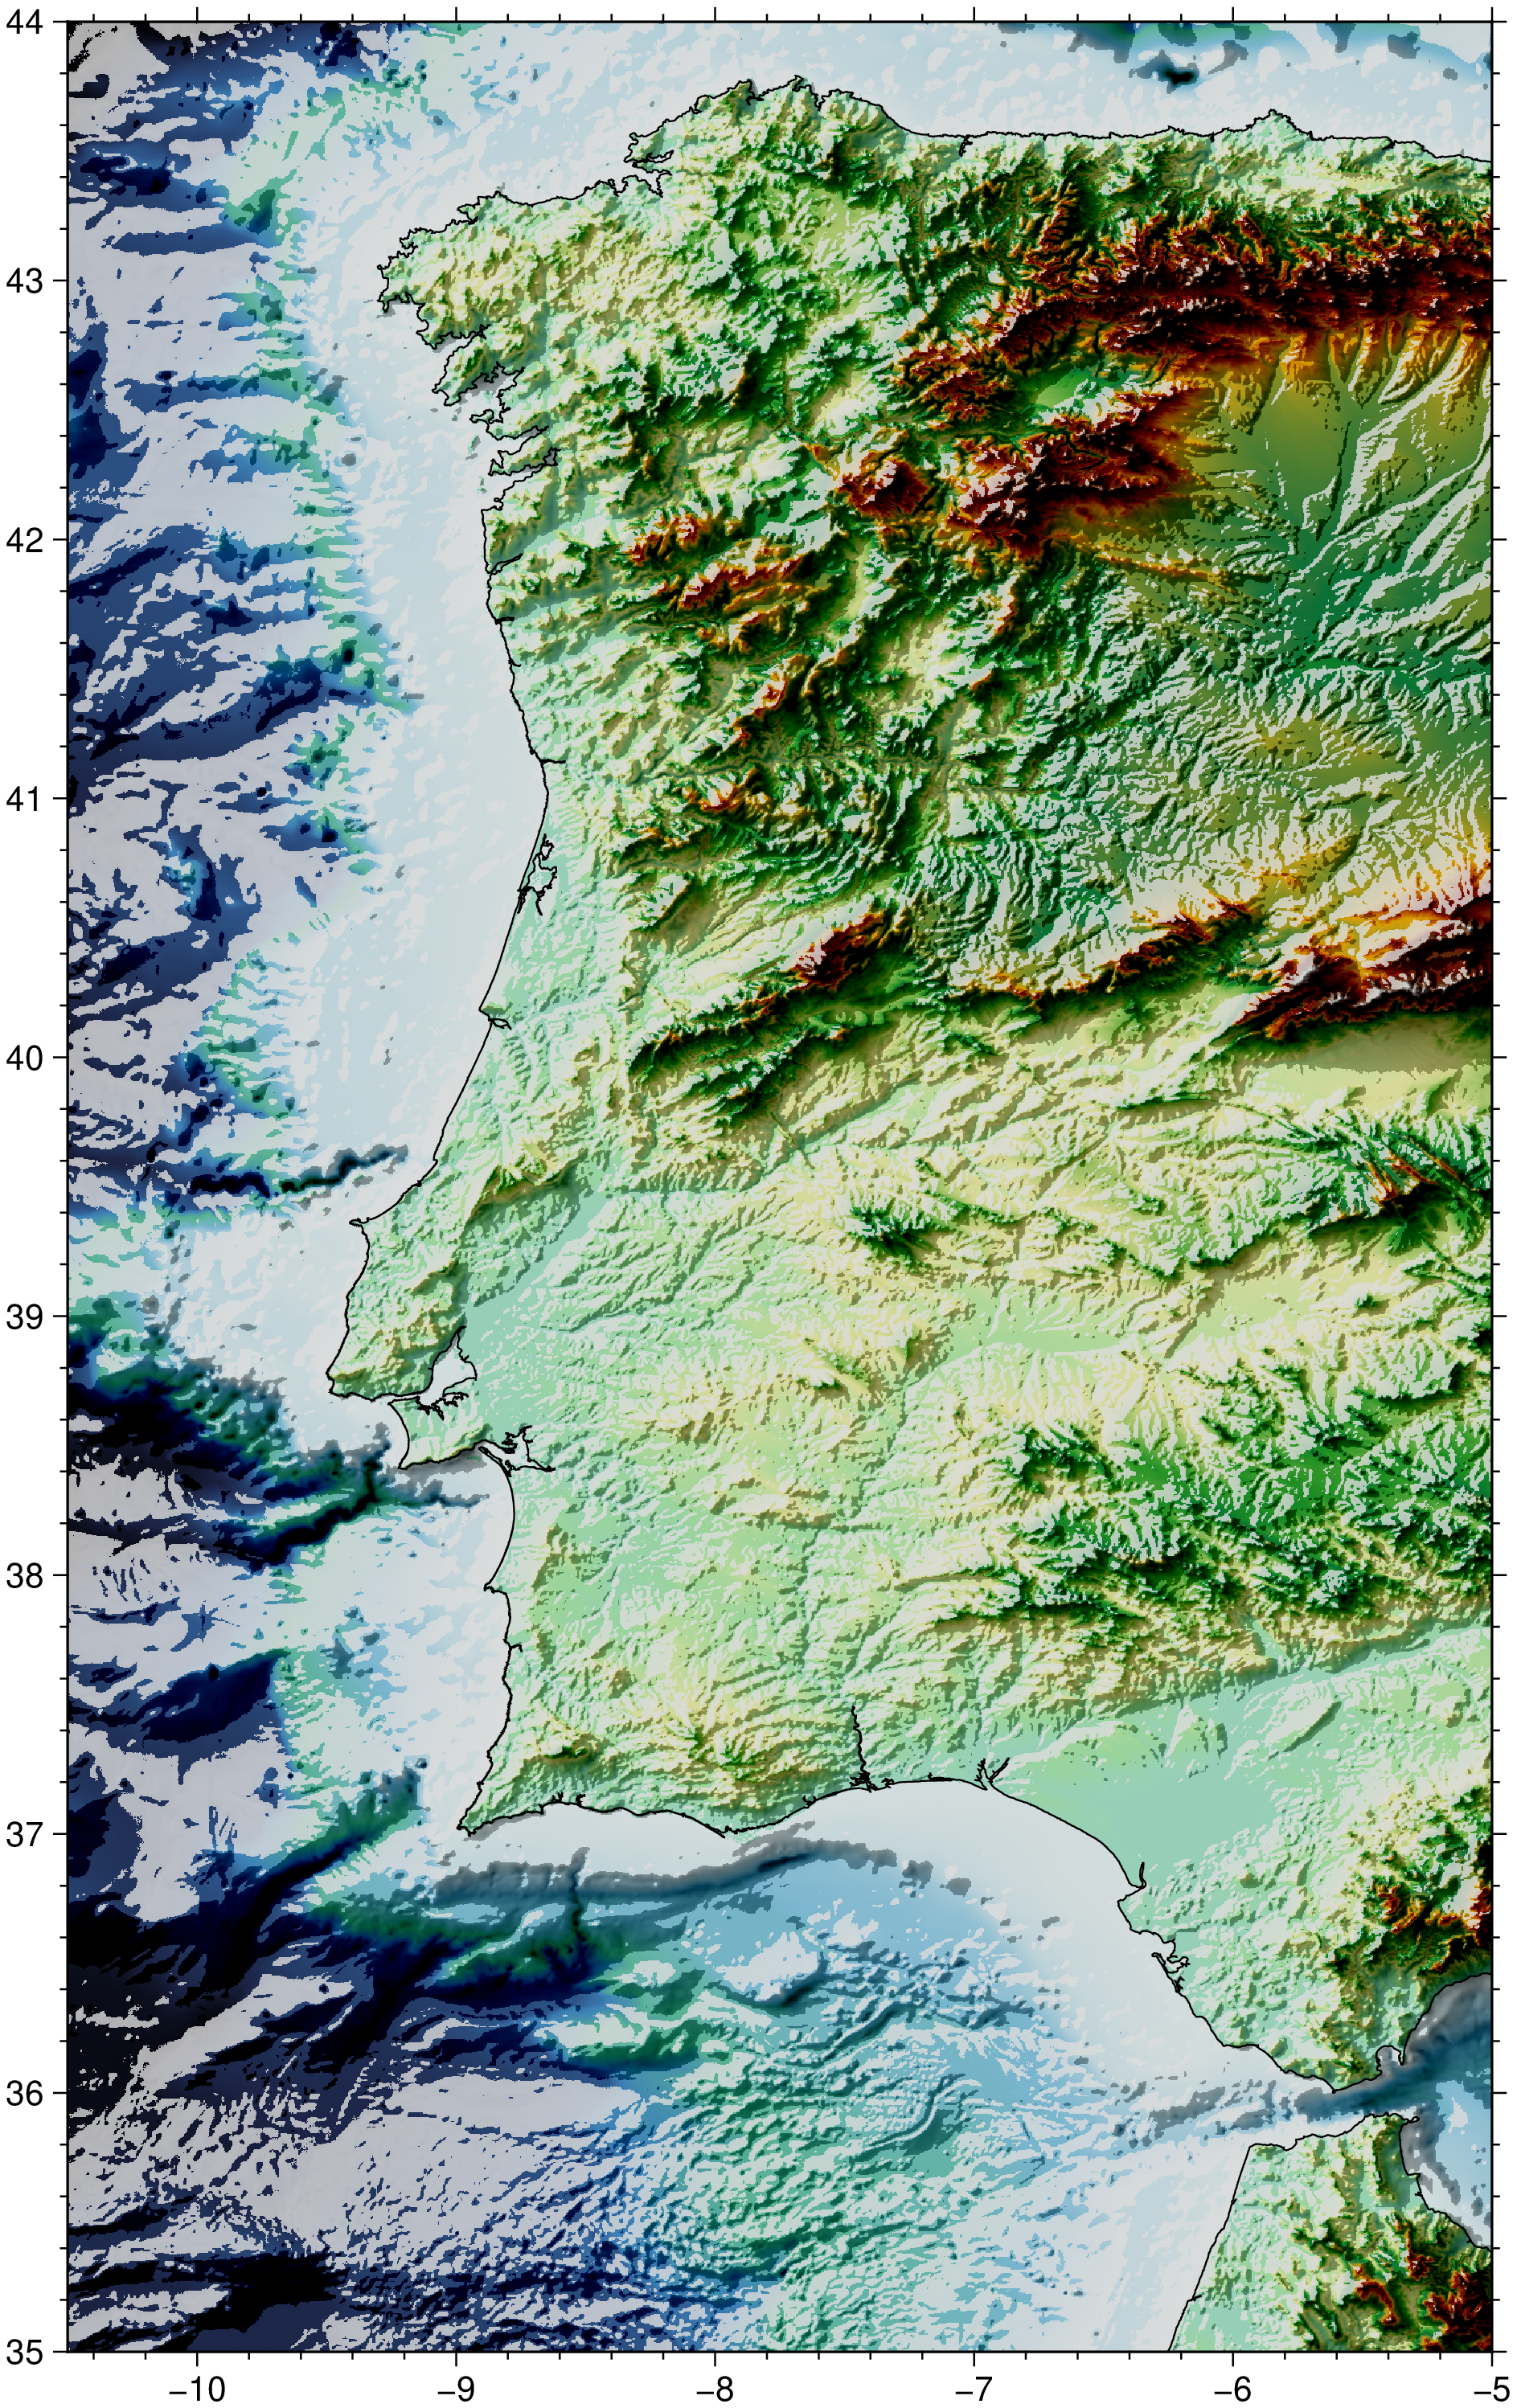
Now apply the techniques explained in this tutorial Adding Shaded Relief in Photoshop to blend the tint, the shades and illumination
using GMT

# Blend the tint and the shades (darken)
Iburn = blendimg!(I, Iblend, mode="LinearBurn", new=true);

# Apply illunination to the previous image
Ib = blendimg!(Iburn, Iblend, mode="Screen", new=true);

viz(Ib, coast=true)
These docs were autogenerated using GMT: v1.33.1